
Audio Tips: How to Remove Vocals in a Song Using Stems

Do you want to eliminate the vocals in your audio track? We’ll go over both the easy way and the hard way to remove them.
There are many reasons to remove vocals from a track in your edit. The vocals could be distracting, or even overpowering when matched with dialogue or voiceovers. So what’s the best way to get rid of them?
Well, you’ve got two options: the easy way, and the hard way. We’re going to take a look at both ways to isolate and remove vocals from your track so you can see which workflow does the trick for you.
But, big surprise, the easier way is the better option.
The Hard Way: Removing Vocals Using EQ Bands and Audacity
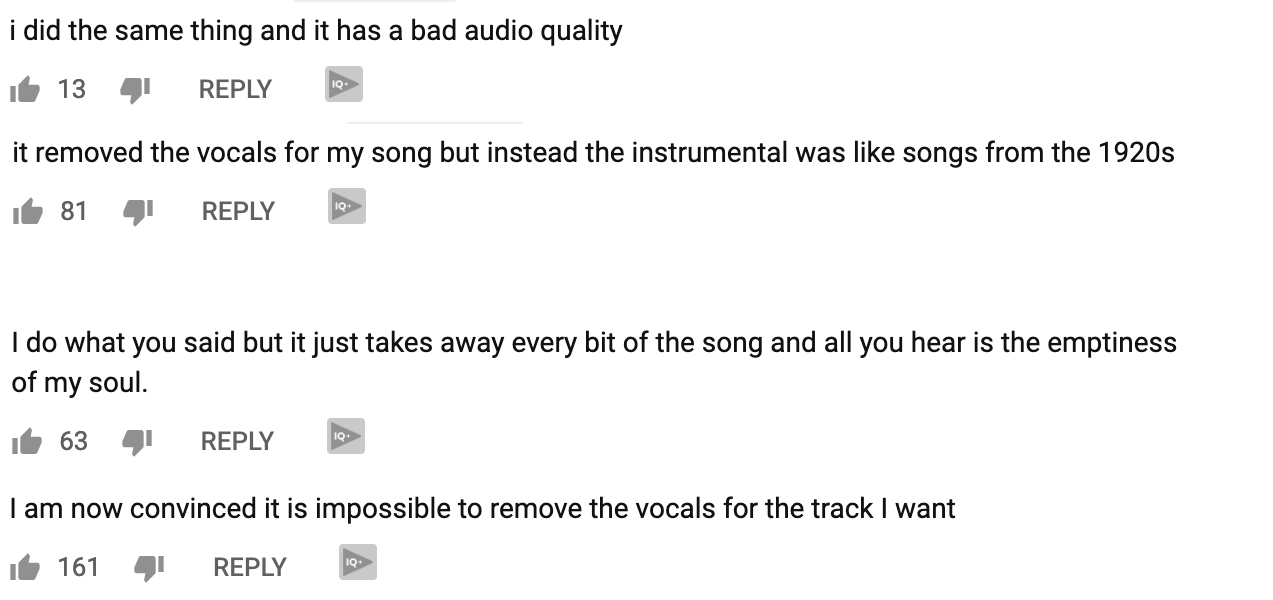
This trick may seem like the answer to all of your problems — a perfect little option in Audacity that can remove vocals with the click of a button. Sounds easy, right? Wrong! Although the video above makes it seem like it’s the easiest way to remove vocals from a track, it doesn’t always work. The program uses EQ banding to remove the high-octave levels in the song — where the vocal track usually lies. But the problem is that many songs have instrumental tracks in the same octave range as the vocals. This creates a problem for the vocal reduction program, and it tends to alter the entire song in the process. Just take a look at the YouTube comments on this video:
It’s not as foolproof as it seems. Although an audio professional could probably get the job done, if you aren’t familiar with audio editing, it can be a daunting task.
So, you could either try your luck with this method, or try the easy way: using stems to remove vocals.
The Easy Way: Using PremiumBeat Stems
Instead of altering a song, wouldn’t it be easier if every track you downloaded came with all the different instruments on separate, editable tracks? Well, PremiumBeat has you covered. With the recent release of stems for 54.5% of our tracks, you can download a .zip file full of all the different portions of the song that you can isolate and remove however you like.
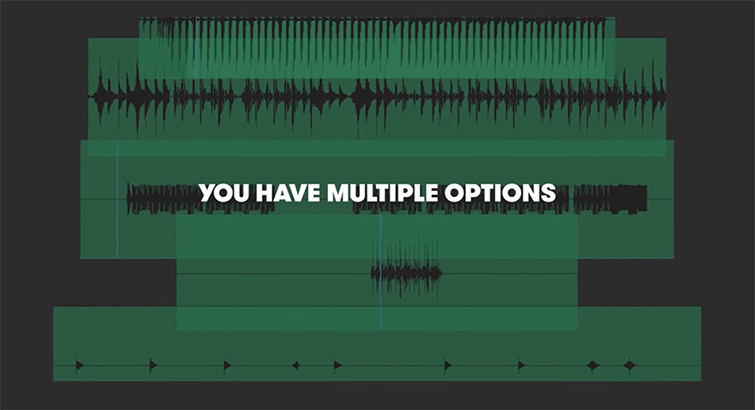
The best part about using stems? You don’t even need to open an audio editing program to customize them. You can do everything in your NLE’s timeline. Let’s look at an example.

Say you have a track that includes vocals, but right before the chorus swells into your killer montage, you need to add in a bit of voiceover. The vocals in the track are distracting, and reducing or removing them right before the montage would really help sell the VO. So all you have to do is load all the stems of your song in your timeline. If all the tracks are overwhelming your timeline, you can nest them to file into a single clip.
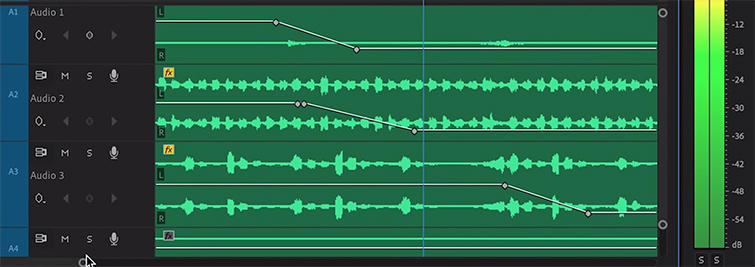
Go to the portion of the timeline where you would like to remove the vocals, and find the vocal stem. Here, you can do some creative ducking and slow-volume transitions to seamlessly turn down the vocals. When it is time to bring them back in, you can swell the vocals back to their original volume — or to any volume you need. Easy, right?
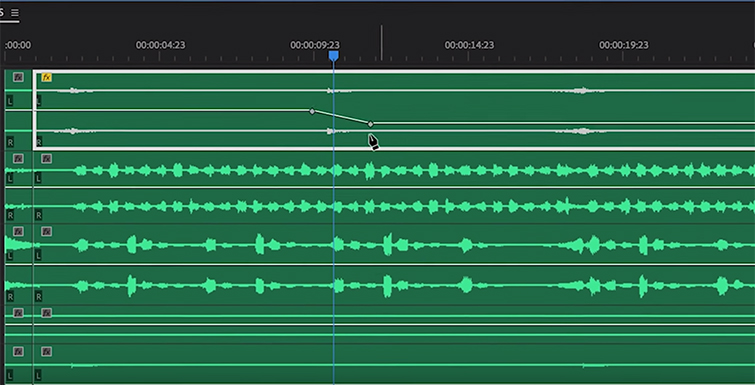
Stems are also very useful for creating a low-profile drum loop to play during a dialogue-heavy portion of your video. In my projects, I always like including some sort of backtrack to fill the negative audio space. But sometimes, a full song with bass, drums, and keys can overwhelm the scene, even when it’s instrumental. With stems, you can isolate the drum track, and loop it on your timeline in your desired slot. Now, you have a looping backtrack that fills in the gaps of your audio without overwhelming the viewer.
Head on over to our music page to check out some of our tracks with stems here.
Cover image via Eduard Goricev.
Looking for more articles on working with audio? Check these out.
- Gear Roundup: The Top Three Audio Recorders Under $300
- Tutorial: Removing Audio Pops and Recording Audio Differently
- Changing the Audio Editing Game with PremiumBeat’s Track Stems
- The Audio Ramp-Up: The Best Transition You Should Be Using
- DaVinci Resolve 15 Video Crash Course — Working with Audio on The Edit Page